

Portainer is an open-source management UI for Docker. It allows users to easily manage their Docker containers, images, networks, and volumes through a web-based interface. With Portainer, users can create and manage containers, monitor container logs, and deploy new services.
Portainer provides an intuitive interface that makes it easy to manage Docker containers, even for users who are not familiar with the Docker command line interface. It also provides advanced features such as role-based access control, allowing users to manage access to their Docker resources.
Portainer is compatible with Docker Swarm and Kubernetes, which allows users to manage clusters of containers and deploy applications at scale. It also supports a variety of Docker plugins, enabling users to extend the functionality of their Docker environment.
To configure Portainer, follow these steps:
- Install Docker on your system if you haven’t already done so already.
- Create a Docker volume to store Portainer data:
docker volume create portainer_data - Start the Portainer container:
docker run -d -p 9000:9000 --name portainer --restart always -v /var/run/docker.sock:/var/run/docker.sock -v portainer_data:/data portainer/portainer - Access Portainer in your web browser by navigating to
http://localhost:9000or the IP address of your system. - You will be prompted to set a username and password, then press enter.
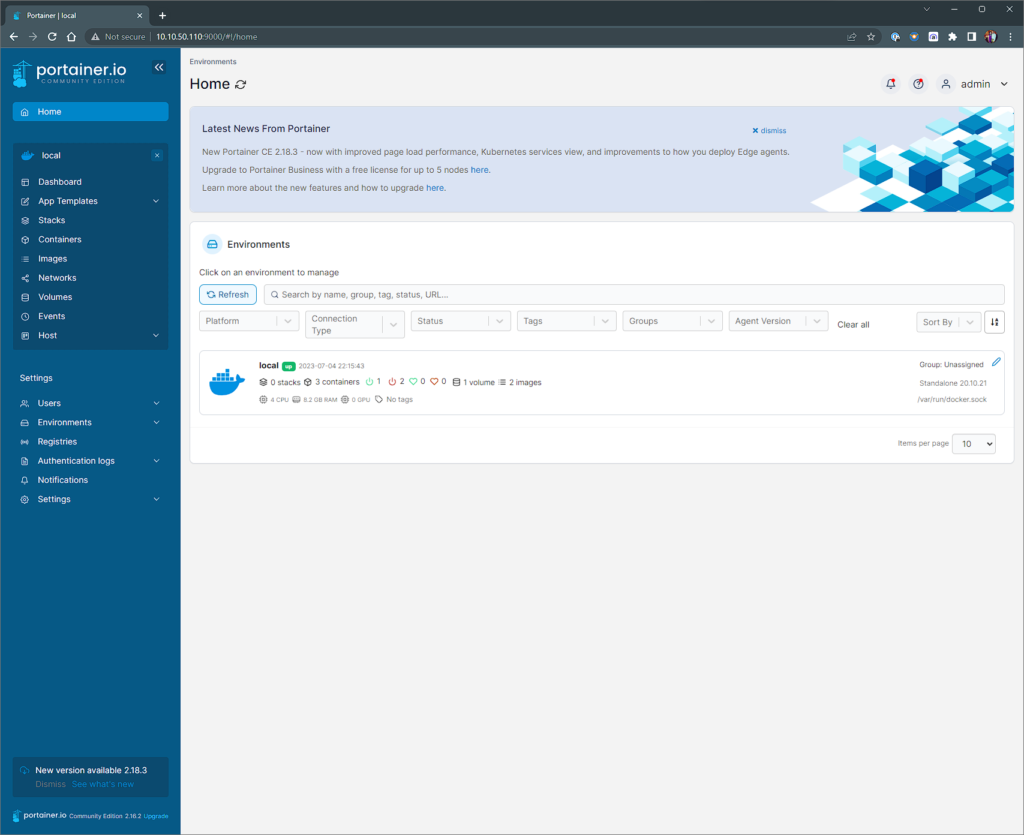
- Upon login into the dashboard, you will be prompted to setup your environment from where you can select the localhost.
Once you have accessed Portainer in your web browser, you will be prompted to create an admin user and password. After completing this step, you will have full access to the Portainer management UI and can begin managing your Docker containers, images, networks, and volumes.
What are Portainer stacks
Portainer stacks are a feature of Portainer that allows users to deploy and manage multi-container Docker applications using a declarative definition file. A stack definition file is a YAML file that describes the services, networks, and volumes required for an application to run.
With Portainer stacks, users can easily deploy and manage complex applications with multiple containers. Stacks can be created, edited, and removed through the Portainer UI, and changes to the stack definition file will trigger updates to the running application.
Portainer stacks are compatible with both Docker Swarm and Kubernetes, allowing users to deploy and manage applications at scale. They also support a wide range of deployment options, including rolling updates, scaling, and rollback.
Overall, Portainer stacks are a powerful feature of Portainer that simplifies the deployment and management of multi-container Docker applications. They provide a user-friendly interface for defining and managing containerized applications, making it easy for developers and sysadmins to deploy and manage complex applications at scale.
Adding nodes to Portainer
To add nodes to Portainer, follow these steps:
- Log in to the Portainer UI.
- Click on the “Endpoints” tab in the left-hand menu.
- Click the “Add Endpoint” button.
- Select the type of endpoint you want to add. This could be a Docker endpoint, an Azure endpoint, or a Kubernetes endpoint.
- Enter the required information for the endpoint, such as the endpoint name, URL, and authentication details.
- Click the “Add Endpoint” button to save your changes.
Once you have added an endpoint to Portainer, you can use it to manage containers, images, networks, and volumes on the remote system. You can also use it to deploy and manage multi-container applications using Portainer stacks.
Final Remarks
In summary, Portainer is a powerful tool for managing Docker containers and deploying applications. Its user-friendly interface and advanced features make it an ideal choice for developers and sysadmins looking to simplify the management of their Docker environments.