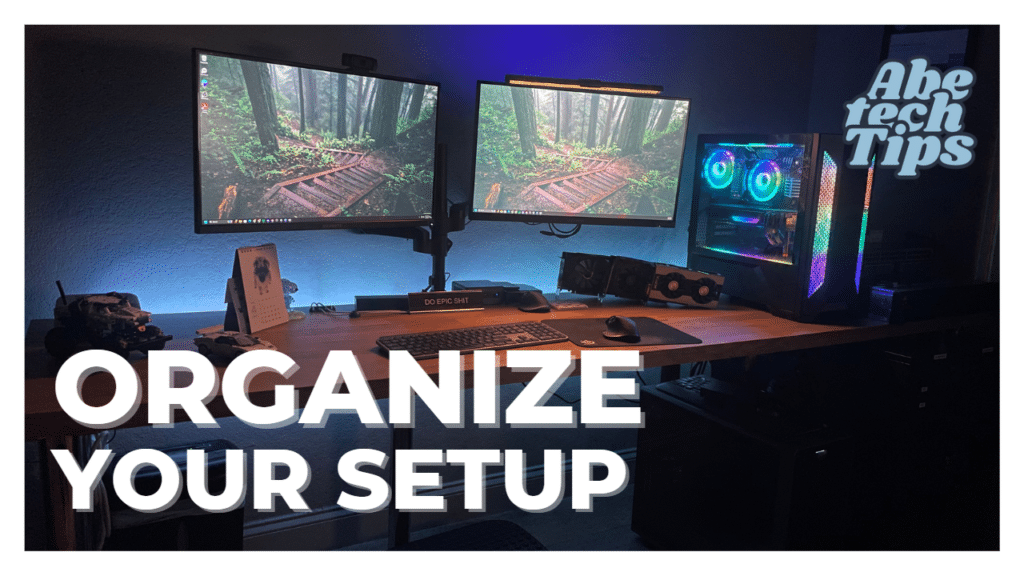
Introduction
In today’s world, data storage is a critical aspect of our lives. With the amount of data we generate daily, it is essential to have a reliable and efficient storage solution to store our documents and media, this is where Network Attached Storage (NAS) comes in play. A NAS is a type of storage device that allows you to store and access your files over a network. Some of the brands in todays market are QNap, Synology, Asustor, Buffalo, WD, TerraMaster and iX Systems. We also have other enterprise solutions like NetApp, Pure Storage, HPE Nimble, Dell and more but these are more robust and may not be used by home users. In this article, we will discuss why TrueNAS by iX Systems is a great choice for your storage needs at home and for content creators.
Features of TrueNAS
TrueNAS is a powerful open-source storage solution that provides several features that make it stand out from other NAS devices. Some of the features of TrueNAS include:
- Scalability: TrueNAS allows you to start with a small storage capacity something like 1 or 2 drives and scale up as your storage needs grow. This makes it an ideal solution for both home and business users.
- High Availability: TrueNAS provides high availability features such as data replication, automatic failover, and load balancing. This ensures that your data is always accessible and reduces the risk of data loss.
- Security: TrueNAS provides several security features such as built-in encryption, access controls, and antivirus protection. This ensures that your data is secure and protected from unauthorized access.
- Compatibility: TrueNAS supports various protocols such as SMB, NFS, iSCSI, and FTP. This makes it easy to integrate with different operating systems and applications.
Benefits of using TrueNAS
Using TrueNAS as your storage solution provides several benefits, including:
- Cost-effective: TrueNAS is a cost-effective solution compared to other storage solutions in the market. It provides enterprise-level features at a fraction of the cost. Another advantage to being cost effective is that you can build your own storage solution.
- Easy to use: TrueNAS has a user-friendly interface that makes it easy to set up and manage. It also provides several tutorials and guides to help users get started.
- High performance: TrueNAS provides high-performance storage that can handle multiple users and applications simultaneously. This ensures that your data is always accessible and responsive.
- Containerization: TrueNAS has a preset of containerized applications, such as NextCloud, PiHole, Plex, and more.
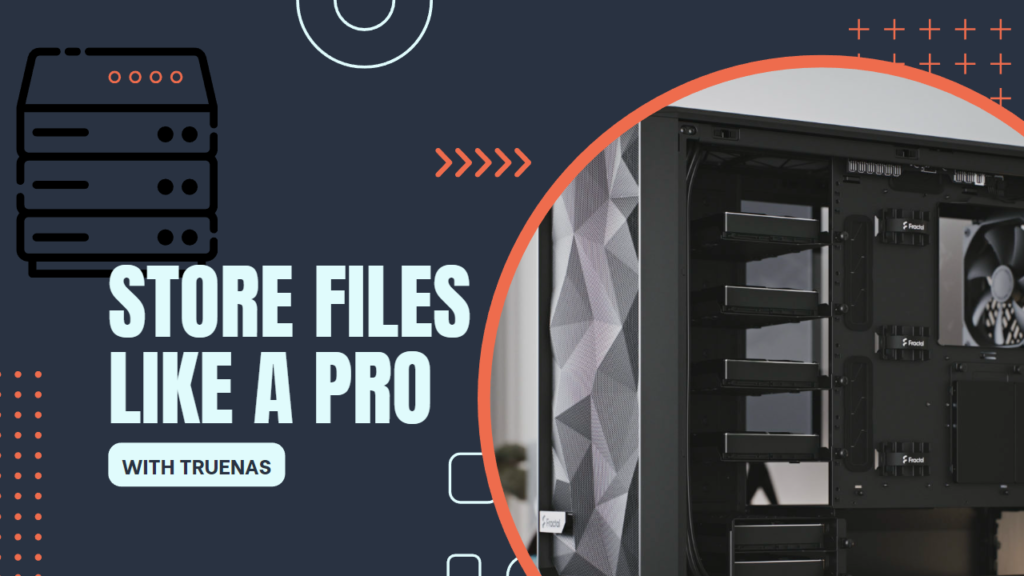
Build your own diy NAS with TrueNAS
The Build
Building your own TrueNAS does not take much and can be done with most hardware that you may have available. In my case I had more than needed, but you can definitely start with the basics, 1x NVMe and 2x HDD, you can skip the NIC, extra HDDs and you can also start with 8GB or 16GB of RAM.
Here is the list of parts that I have used to build my own TrueNAS at home:
- Asus x570 TUF – https://amzn.to/3mcQKNj
- AMD 5600G (The AMD G variant provides graphics so I don’t need to have a video card for installation) – https://amzn.to/3MyPCyl
- 4x 8GB DDR4 GSkill RipJaws RAM – https://amzn.to/3mgyCSF
- 750 Watt Corsair RM750x Power Supply – https://amzn.to/41aIegC
- Intel i350-t4, this is a 4 port Gbe NIC card – please check prices on eBay
- 2x Samsung SSD 970 EVO Plus 250GB – https://amzn.to/3ZURm82
- 6x 2TB Seagate Barracudas – https://amzn.to/3GuVwg1
- Ideally you may want to use Seagate IronWolf – https://amzn.to/3MsAUZq or WD Red – https://amzn.to/3GuPRq2 that are built for NAS solutions
- Fractal Design Meshify 2 – https://amzn.to/40OrjR4
Considerations
Though it can be easy to build a NAS using TrueNAS, there are some things that should be taken into consideration. Like hardware compatibility, reliability and the importance of the data that you will be storing.
The minimum hardware requirement for this is:
- Processor: 2-Core Intel 64-Bit or AMD x86 Processor
- Memory: 8GB Memory
- Boot Device: 16GB SSD
- Storage: Two identical sized storage drive for a single storage pool
For more information on the requirements for TrueNAS, visit: https://www.truenas.com/docs/core/gettingstarted/corehardwareguide/
Installation
To install TrueNAS, you will need the following:
- Download TrueNAS Core or Scale from their site at https://www.truenas.com/
- Rufus: https://rufus.ie/en/
- USB for install, we recommend 16GB this will ensure you have enough space to image the USB with the ISO
On boot, we will click on Install/Upgrade
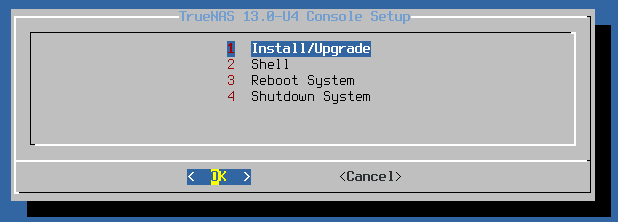
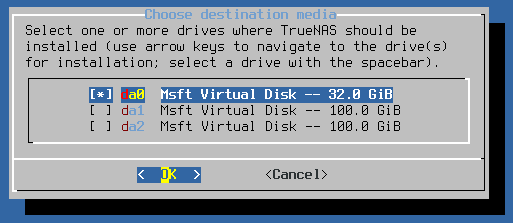
Once you click on okay, we will select the boot drive. In the case of this VM it will be the 32GB Drive that I had set. Make sure to press the space bar to select it then, press Ok.
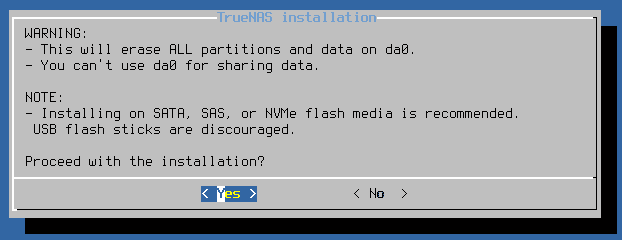
Let’s accept the warning, this warning basically says that all data on the drive will be wiped to install TrueNAS.
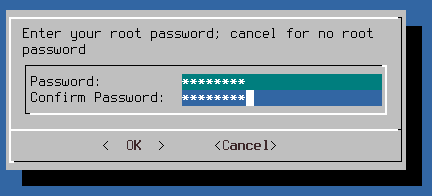
We will then setup a strong password, make sure to not forget this password as you will need it to sign into the web interface later. Then press OK
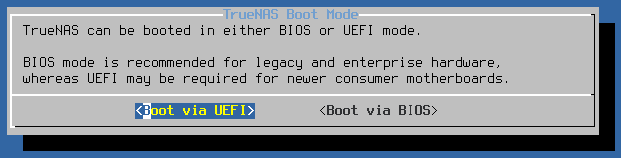
We will then select to boot via UEFI
Once you’ve selected the boot option, you’re pretty much set with the installation of TrueNAS. We are now going into the web interface.

The Web interface
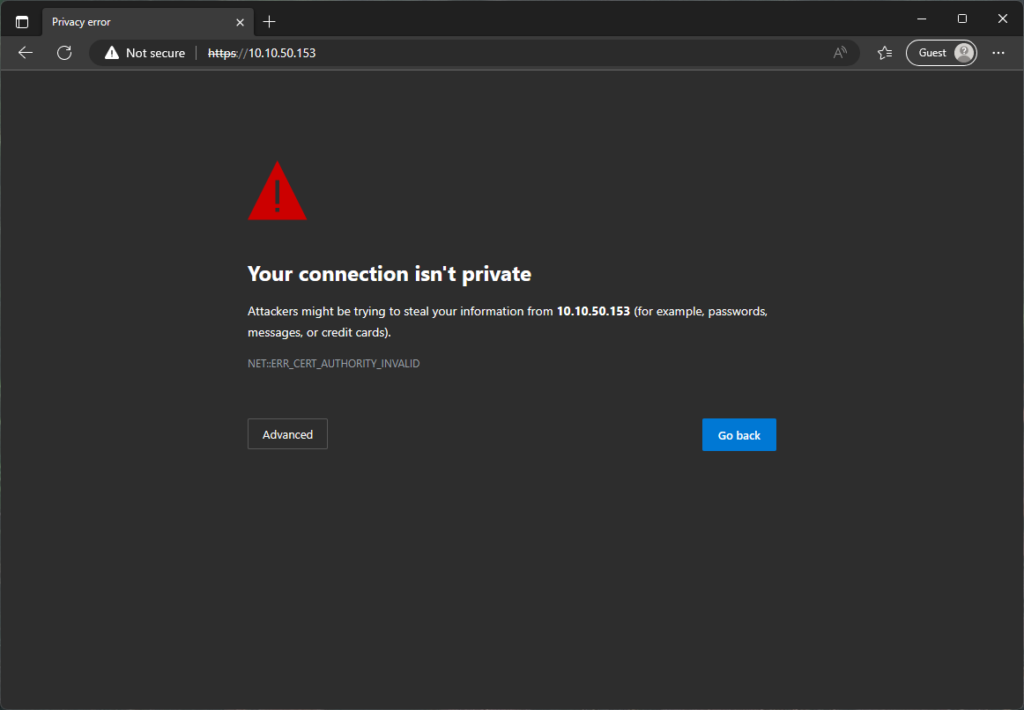
On our browser, we will navigate to the IP assigned by DHCP. In my case, I navigated to https://10.10.50.153 and we are welcomed to a message that says that your connection is not private, this is normal as it is using a self-signed certificate.
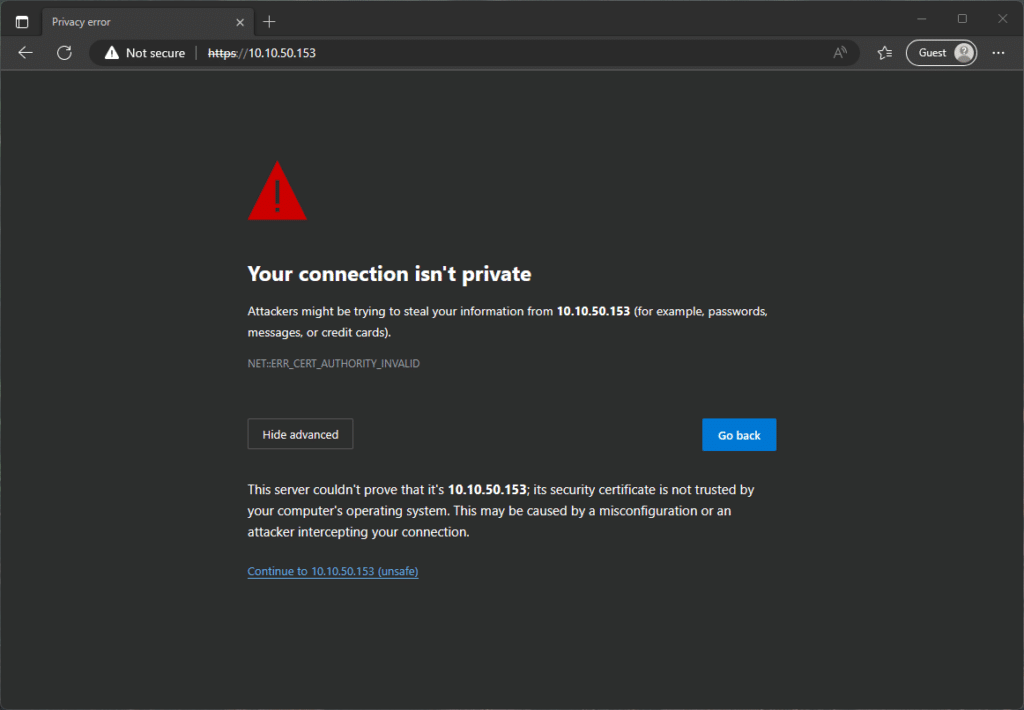
Let’s click on the advance button and then the link to continue to 10.10.50.153 (unsafe).
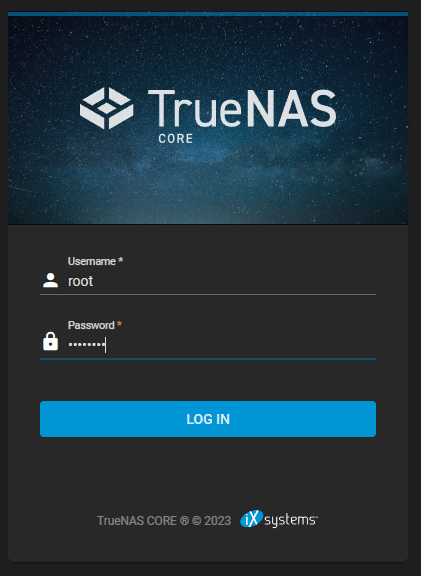
At the sign in, we will sign in using “root” as the user. If you’ve chosen TrueNAS Scale, the default sign in user is “admin”. We will use the password we have setup during setup to sign in.
Once at the web interface, we will need to do a couple of things in order to be able to have file shares available to use the storage.
Creating a user in TrueNAS
First thing is to head out to the “Accounts” section from the left panel and select Users.
We will create a new user by clicking the “Add” button at the top right and then enter the user information.
![]()
- Enter the Full name
- Enter a username if you do not like what’s given
- Enter an Email
- Enter a Password
- NOTE: Make sure to select the check box “Microsoft Account” if you’re going to access files from a Windows PC.
Then we’re going to press Submit.
Setting up the Time Zone
Once we have created a user, we are going to need to set the time zone.
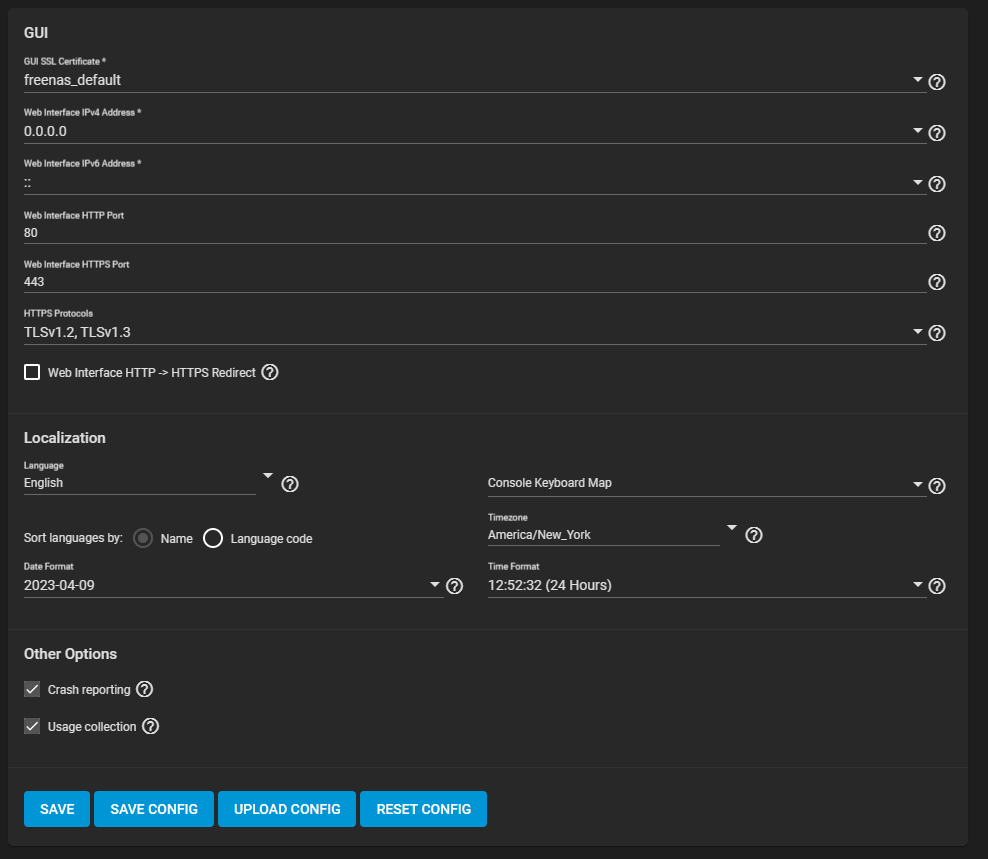
We’re going to select “System” and then General. On this screen, we can set the time zone to the one that matches your location, in my case, I am in the eastern time and “America/New_York” matches my time zone. Then press “Save”.
Now that we have a user account, we are going to create a pool and dataset.
Pools and Dataset
In TrueNAS, we work out of Storage Pools using Datasets. A Storage Pool are attached drives organized into virtual devices. A Dataset is a file system that is created within a Storage Pool.
First, we need to create a Storage Pool.
Let’s go to “Storage” from the left panel and select “Pool”. Then we are going to click on the Add button at the top right. This is a 3 step process:
- We are going to select “Create new pool” and click on the “Create Pool” button.

- Then, we are going to give it a Name and select the disks we want to use. Press the Arrow pointing to the right and press “Create”
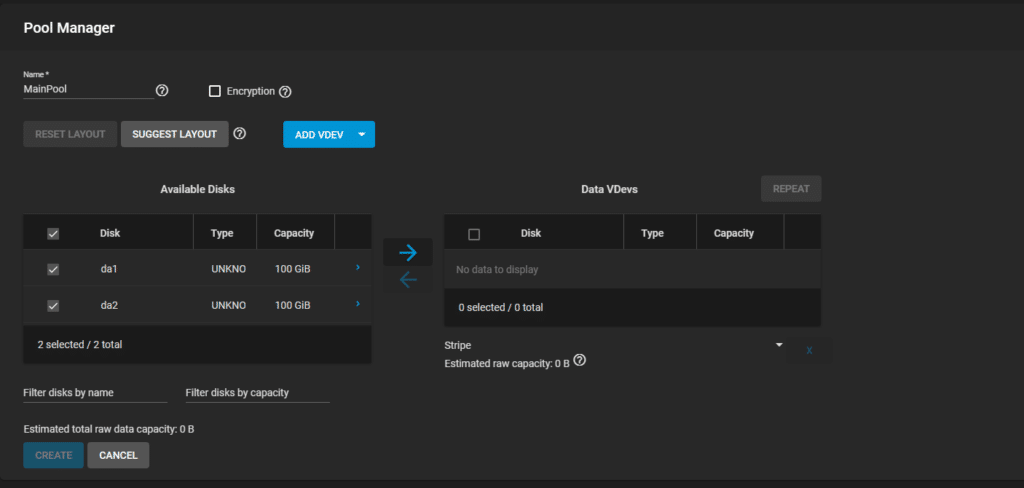
- Accept the warning and your pool will be created.

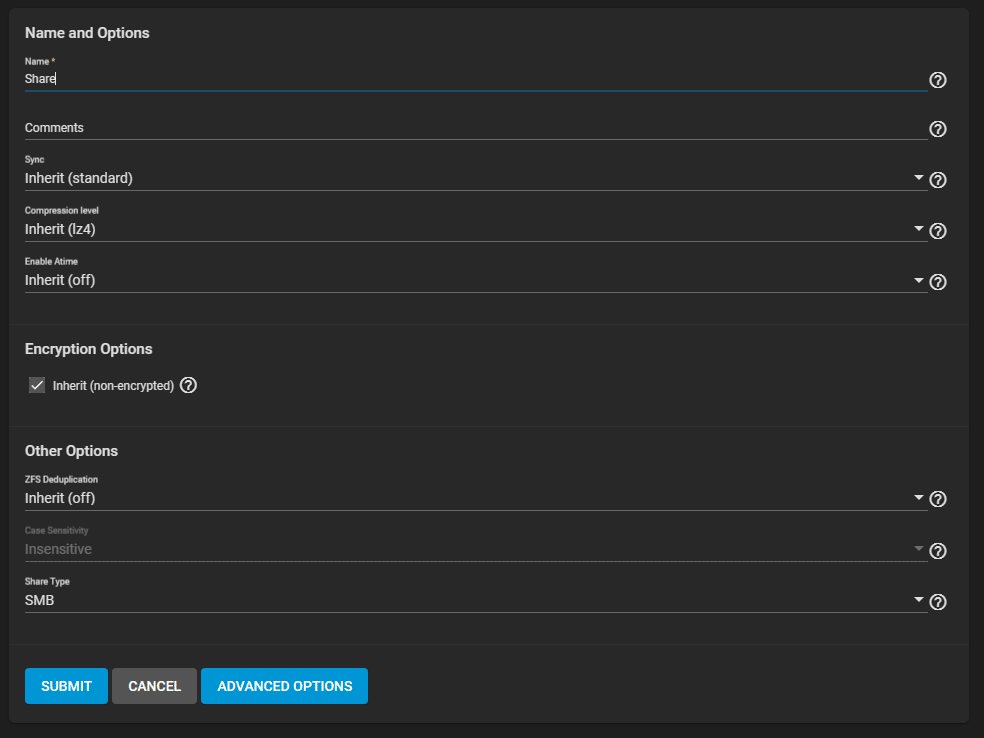
Now we are going to create a Dataset.
- Let’s click on the vertical ellipsis to the right of the pool and select “Add Dataset”.
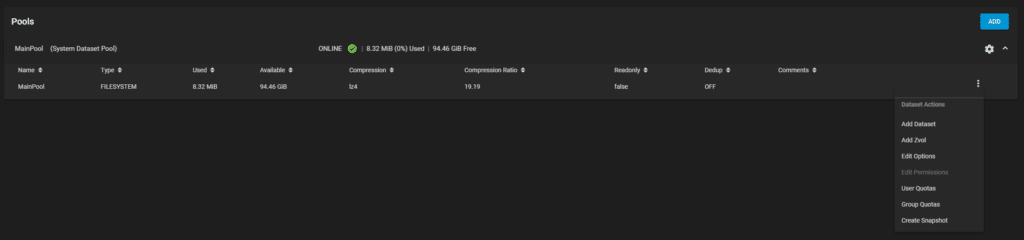
- Next, we are going to give it a name and then select “SMB” from the Share Type dropdown and press “Submit”.
Assigning permissions to the Dataset
Next step on this guide is to grant permissions to the user account that we have created earlier.
- Let’s click on the vertical ellipsis next the newly created Dataset and select “Edit Permissions”.
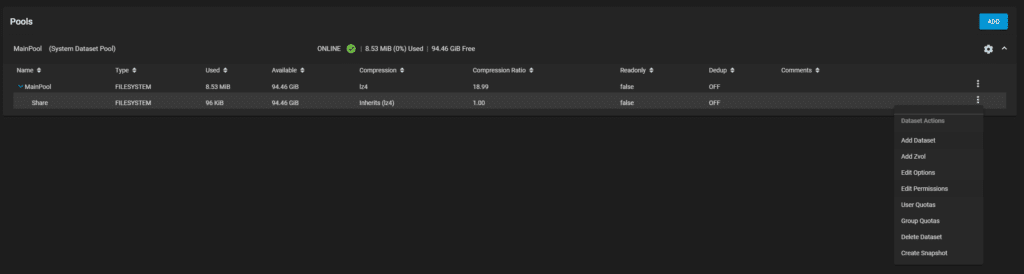
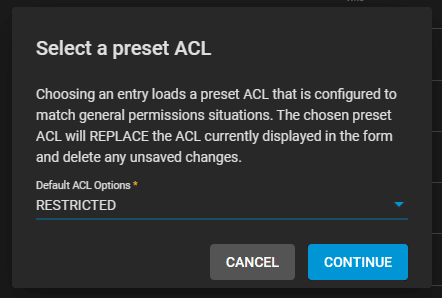
- At the Permissions screen, we are going to click on “Select an ACL Preset” and we are going to select “Restricted” from the dropdown.
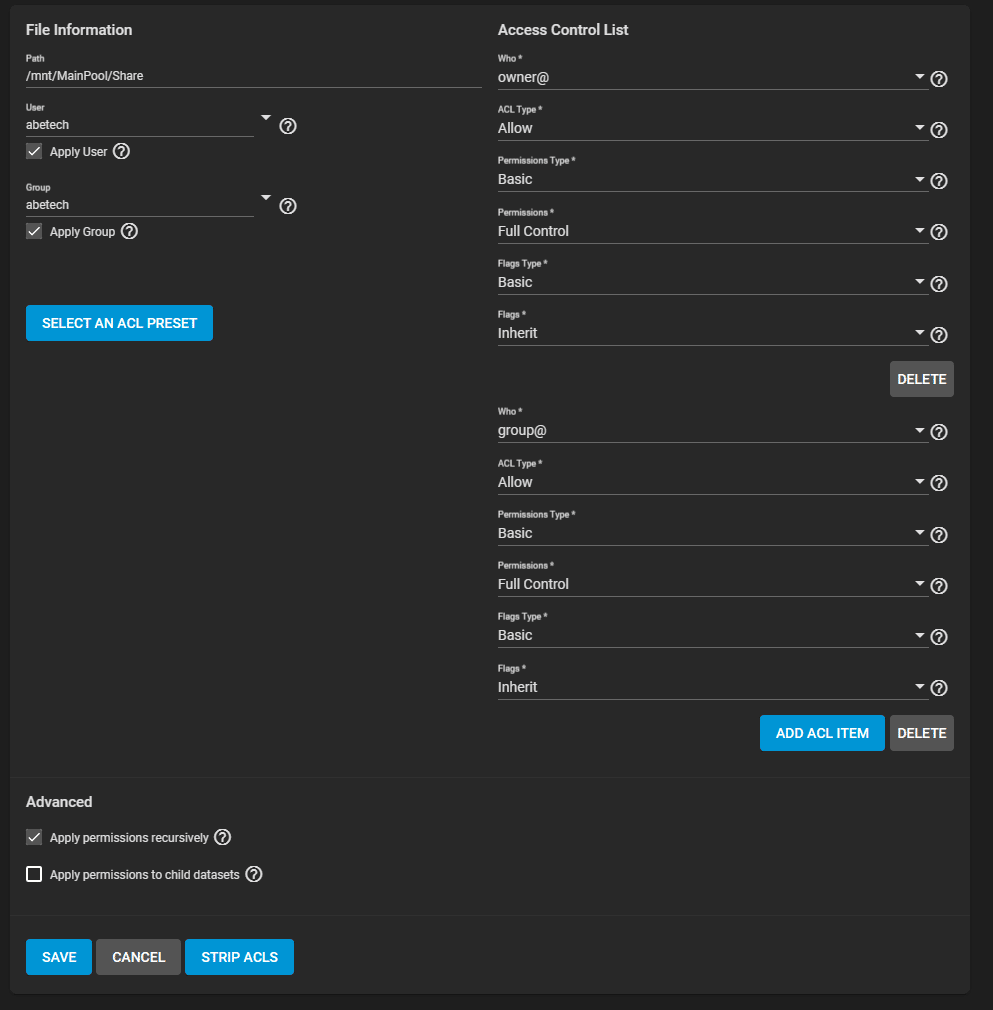
- Then we are going to select the newly created user and group, in my case, abetech and then make sure that “Full Control” is selected for both the user and the group permissions. Then rpess Save
- Note: If you had Datasets or data within the dataset, you need to select the “Apply permissions recursively” checkbox, otherwise you will not be able to see or access the data.
Creating a Share
Now that we are done with the permissions, we are going to create the Share.
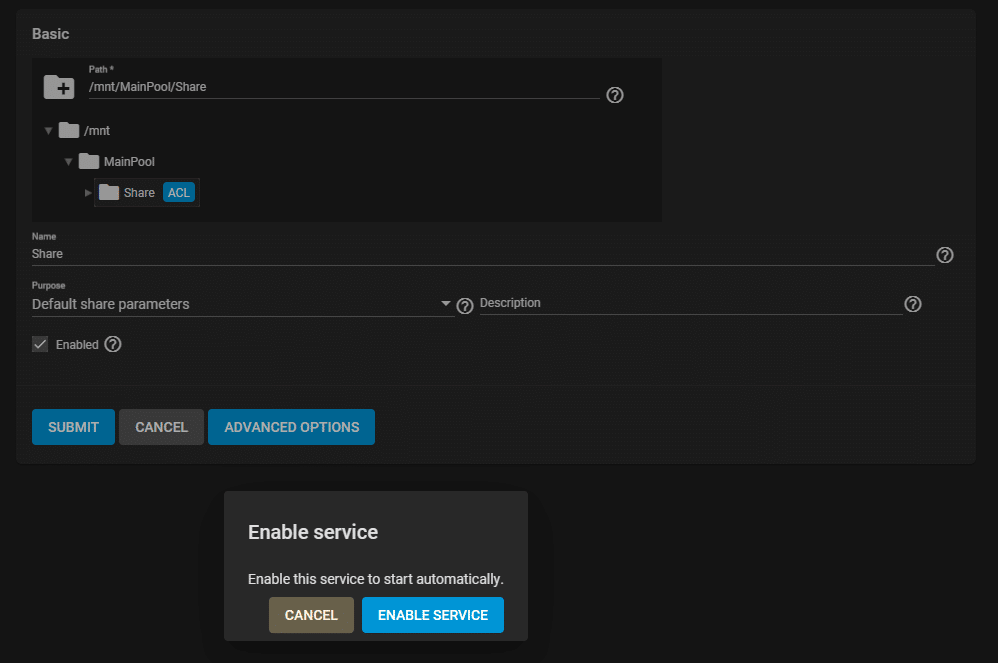
Let’s go to “Sharing” then select “Windows Shares (SMB)”. At the sharing screen, we are going to click on “Add” to create a share.
- Let’s open the directory until we find the dataset that we have previously created and select that folder then press submit.
- Let’s then click on “Enable the service”.
Now we are ready to access the share on our computer.
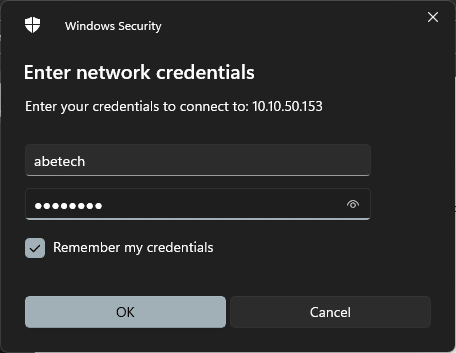
Let’s open a file explorer and navigate to \\the_IP_of_your_truenas in my case, it is \\10.10.50.153. You will be prompted to enter a username and password. This will be the username and password we have created earlier. 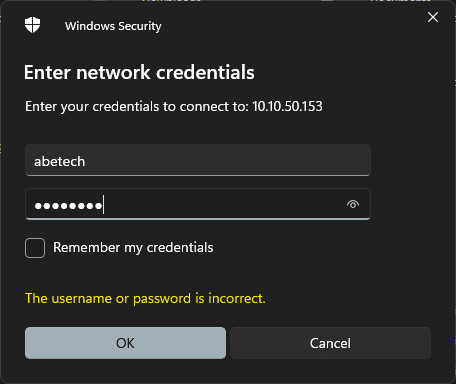
Once we see the share, we can right click on the dataset, in this case, Share and select “Map network drive”.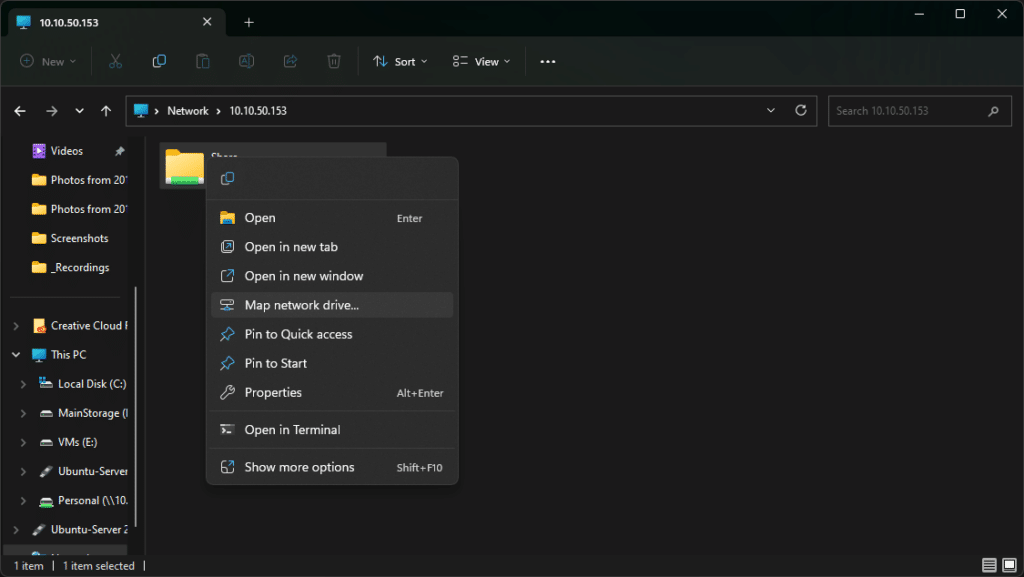
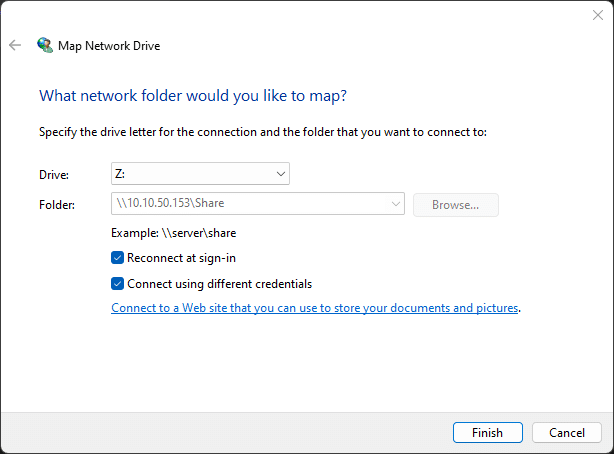
At this screen, we can assign it a drive letter and make sure to select “Connect using different credentials” this will allow to save the username and password created within TrueNAS.
Now that the drive is mapped, we can reconnect to it every time that we restart our computer and this will always show on “This PC” as long as the TrueNAS remains powered on and connected to the network.